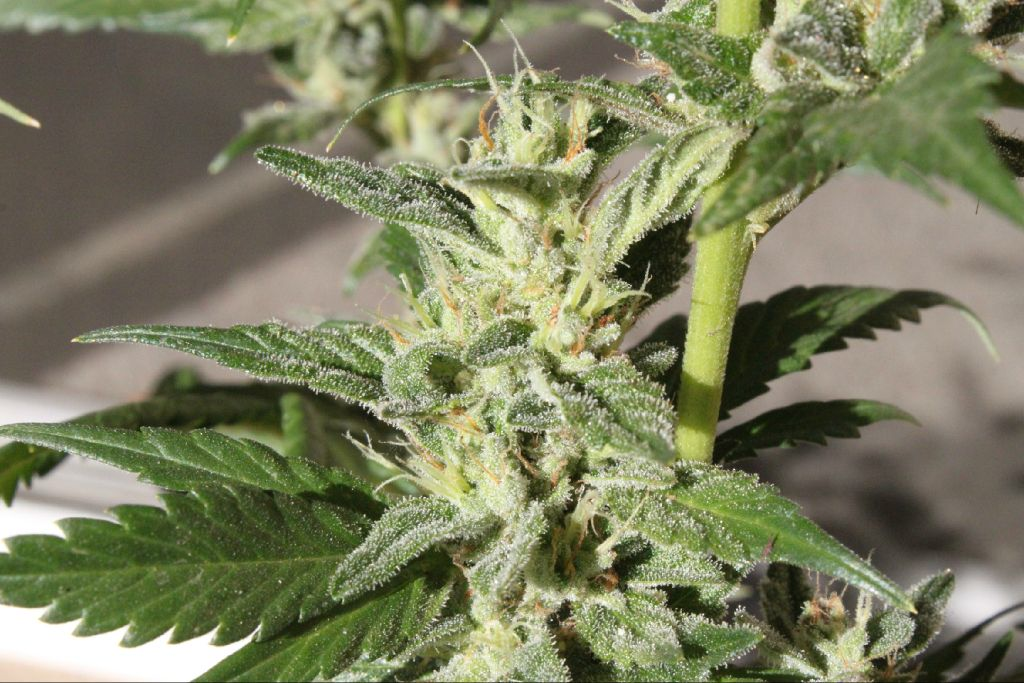
 How do I grow Marijuana?
To answer the most definitive weed-growing question, STUFF STONERS LIKE teamed-up with expert herb grower, Mel Thomas. He’s the author of Cannabis Cultivation: A Complete Grower’s Guide, 3rd Edition. It’s published by Green Candy Press. Mel’s a world-renowned cannabis cultivator and at one time was the largest producer of marijuana in the UK. Have a question for him? Then email us at stuffstonerslike[at]yahoo.com
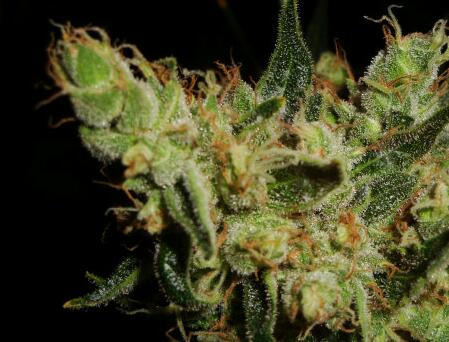 QUESTION: I am overwhelmed by the variety of grow equipment and methods. I am looking for a comprehensive step by step guide for building a very small (4 x 4) system. My goal is to grow top quality high yield plants. My husband ( who will be building this ) is very capable with construction etc. We do not want to overbuild, as the plants would be used to provide medicine only for me, and of course cost is a big factor. Any advice from Mel would be greatly appreciated.
MEL THOMAS: Funny thing is ive just finished the first draft of a medical book with Jeff Ditchfield and we cover just that – a 4×4 easy to build grow! I ‘spose I could give you a breakdown of the chapter we’ve got on a medical grow?
CULTIVATING MEDICAL MARIJUANA
The Basics: There are many ways to grow cannabis and a proliferation of books and DVD’s available on the subject, a simple Google search can give you more than enough information to get started, unfortunately this wealth of information has the opposite effect on many novice growers who can be overwhelmed by the conflicting advice and information given. In reality there is nothing complicated about growing marijuana. The advice here is geared toward producing enough dried cannabis to treat you, using simple techniques and readily available equipment. All cannabis plants, regardless of variety have the same basic requirements:
- Nutrients and pH in the correct balance
- Humidity and temperature within the correct range
- Light of the correct spectrum
- Water at the correct temperature
- Air rich in carbon dioxide and well circulated
Vegetative Growth
As soon as your cannabis plants have developed roots they are ready for the vegetative growing process. Indoor crops are generally left in the vegetative stage between two weeks to a month before flowering is induced by switching the light cycle.
During the vegetative growth stage it is advisable to either pinch out the main growing tip or train the plants to produce a compact, higher yielding crop. Lower branches that receive less light and will only produced sparse buds are also removed. When the growing tip is removed from the cannabis plants main stem two more shoots will grow from the nodes beneath the cut and this also encourages more growth on the lower branches. Super cropping is similar to pinching out the main growing tips, however the tip is not removed. This allows the main cola or bud to continue to grow. You crush the innermost part of the main stem, below the main cola, with your index finger and thumb ensuring you don’t damage the hard outer layer of the stem, this should be done no more than once a week. By crushing this inner part of the stem it becomes thicker and lower branches increase their growth. Similar results can be achieved by bending the main stem or tying it down. Mesh can be stretched horizontally over the crop and the tops bent to grow beneath it, in this way you increase the light the buds receive. Outdoor gardeners should also employ these training techniques to keep their plants short and bushy.
 Flowering
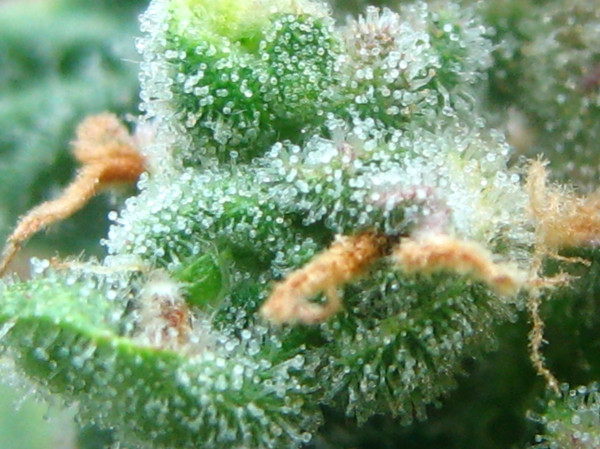
After two weeks, or when plants are around 8-12 inches tall with good stem development, indoor growers switch the light cycle to induce flowering. The plants will stretch out slightly as they begin to bloom, but after two weeks they will settle down and concentrate on flower production. Your fertilizer should be changed to a ‘Bloom’ formulation and you should cease all super cropping techniques. Unless using auto-flowering strains, outdoor growers are dependant on the change in season but can induce flowering earlier by covering plants for 12 hours out of 24. Don’t interrupt your light cycles and ensure no unwanted light is entering your indoor garden as this will disrupt flowering.
Harvesting
after eight weeks of the flowering regime predominantly C. indica varieties will be ready to harvest. Predominantly C. sativa varieties may take one to two weeks longer. The seed suppliers will advise you on flowering times. The buds should be sticky and covered with translucent resin and 50% of the white pistils should have turned brown. Cut the plants at the stem and hang them in a dark area at room temperature. They will dry in around ten to fourteen days. Don’t try to speed this process up by applying heat, it is better to be patient and let this process occur naturally.
 Curing
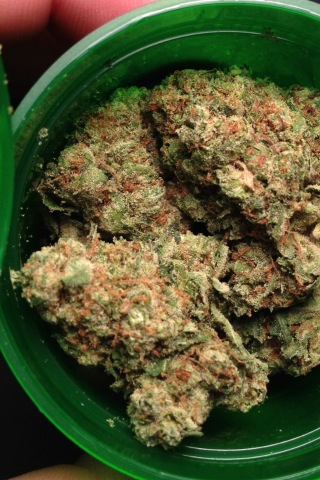
The curing process breaks down chlorophyll and improves flavor in the finished product. We would recommend a minimum of two weeks curing, but the longer the buds are left the better they will be. Place the dried buds loosely into airtight glass jars in a cool, dark area. The jars are opened once a day and the buds checked to ensure they are not sweating too much, if they are they are removed and further dried. After one week to ten days the airing process is reduced to a weekly check. Failure to vent the jars will cause moisture build up and mold will develop ruining your harvest. If you are making the buds into oil then this process is not so important.
The 12 week medi grow
This system will produce enough dried cannabis buds to enable patients to make sufficient cannabis oil for a three month treatment, which is the recommended dosage for cancer sufferers.
Equipment: 9x feminized Cannabis indica dominant seeds, 1x 4ft square grow tent, 1x 600 watt High Pressure Sodium lamp, nutrients, compost, Perlite, 9x three gallon pots, 1x four inch inline fan, 1x four inch desk fan, 4 inch ducting, 1x time switch capable of carrying a 600 watt load, 1x carbon filter (optional).
Grow tents are easy to set up and come with vent sleeves and hanging straps fitted as standard. Fit the extraction fan and any ducting at the top of the tent with the light hanging beneath it and fitted to your heavy duty timer. Hang the desk fan so it can be directed over the plants. Germinate your seedlings and place them into the pots. Your seedlings will require 4 weeks in the vegetative stage from germination. After which you begin the flowering cycle. It is recommended that you use the standard 18/12 lighting regime for this grow. After 8 weeks in the flowering cycle you can harvest. After drying the crop can then be processed into cannabis oil, further cured for vaporizing or used for edibles and drinks.
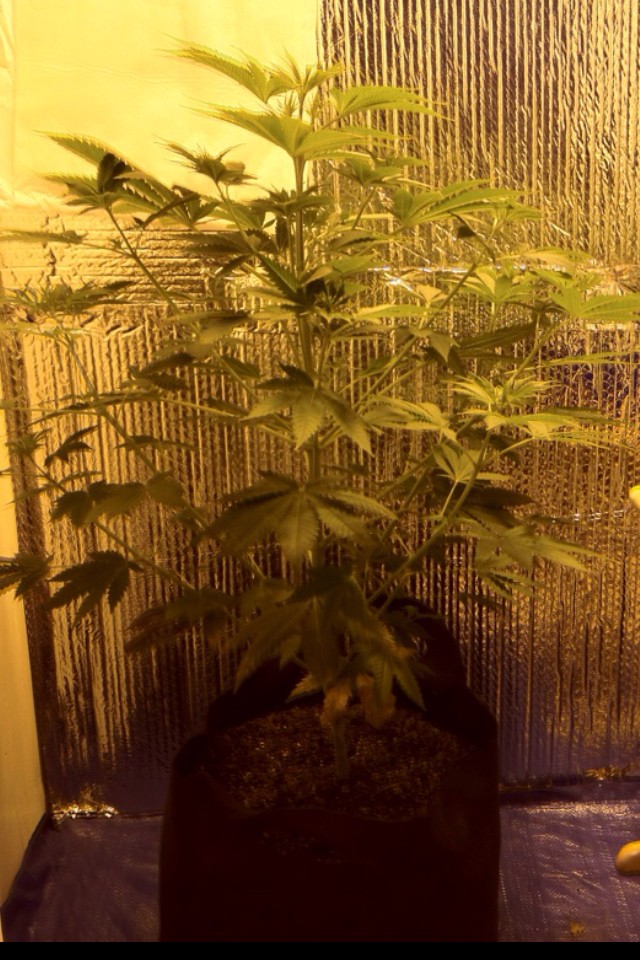 Advice for disabled growers: It is always advisable to have help from your carer when setting up, not only for assembling the system, but also in filling the pots with the compost mix. If you have trouble bending the grow tent can be raised providing there is enough clearance between the top of the tent and your ceiling.
Many disabled and wheel chair users find it easier to set up what is known as a ‘lazy Susan’. This is basically a rotating base that the plants are grown on. These are constructed using a heavy duty lazy Susan bearing, available online. The bearing needs to be fitted centrally to a plywood base that sits in the bottom of the tent. The rotating top that the plants will sit on can be either plywood or a heavy mesh, but it needs to be cut to give clearance when rotated. This makes tending and watering the plants far easier.
Blind users find the lazy Susan particularly effective and use talking scales to weigh the pots so that the crop isn’t over watered. Many blind growers also place a graduated bamboo cane into each pot to help gauge the height of their individual plants.
Watering can become a problem for many disabled users who have trouble lifting so most impaired growers use a pressure sprayer with a hose or lance attachment. If you can lift it is better to use a small and lightweight, well-balanced plastic watering can with a long narrow spout for reaching into your pots. There are designs available that incorporate a push button at the top of the handle to control the flow of water from the spout and the filling hole is covered by a sliding cover to prevent spillage.
Leave a Reply